 |
|
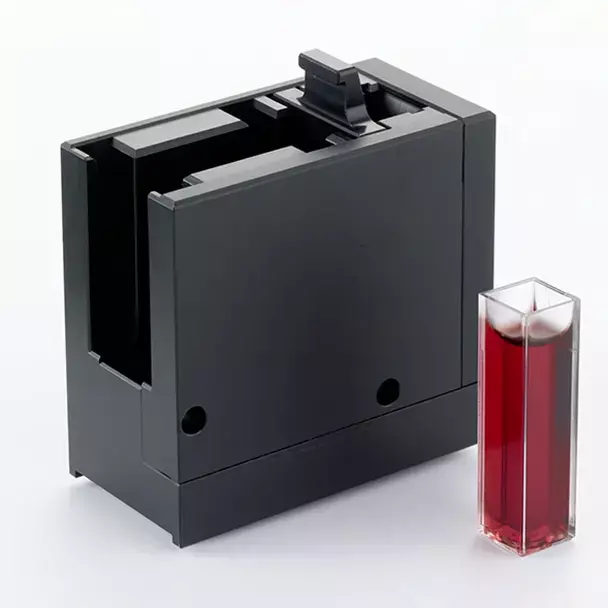
CM-A198 Transmittance Specimen Holder
Cell holder attachment for commercial rectangular cells (Macro type) with 12.5 mm width. Suitable for cells with an optical path of 10, 20 or 50 mm.
Item Order Code: A168704
|
 |
|
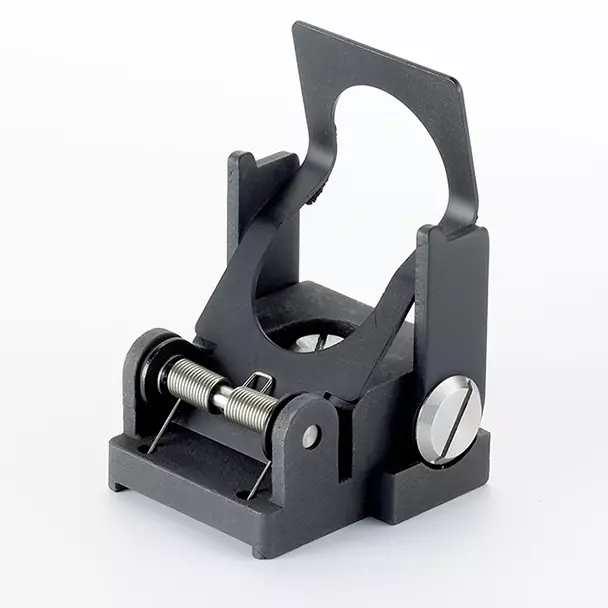
CM-A96 Transmittance Specimen Holder
For precise positioning of transparent plates, films or other transparent samples for transmittance measurements. Holds the Rectangular Cells CM-A97 (2 mm path), CM-A98 (10 mm path), CM-A99 (20 mm path) and the Rectangular Disposal Cells CM-A CM-A130 (2 mm path), CM-A131 (10 mm path) and CM-A132 (20 mm path) or the Flow Cell CM-A508 (10 mm path) always in perfect and repeatable position for precise transmittance measurements of liquids.
Item Order Code: 1864-708
|
 |
|
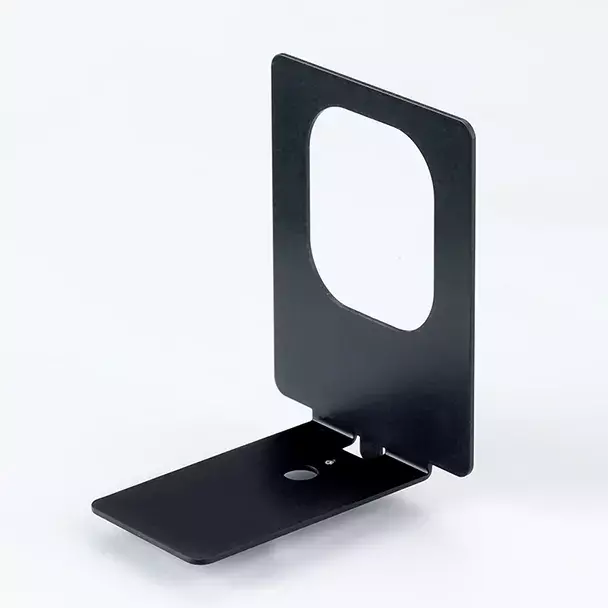
CM-A199 Transmittance Specimen Holder Attachment
Adapter to attach the Transmittance Specimen Holder CM-A96 in direction of the light receiving port.
Item Order Code: A168705
|
| |
|
CM-A213 Transmittance Zero Calibration plate
The Transmission Zero Calibration Plate CM-A213 is required to block the light path for zero calibration in transmittance measurement mode. The black and mat coating of the plate absorbs also stray light within the transmission chamber of the instrument.
Item Order Code: A168717
|
| |
|
CM-A97 Rectangular Cell 50 x 38, optical path 2 mm
Rectangular cell made of optical glass for precise transmittance measurement of transparent liquids. The optical path is 2 mm and therefore perfect for liquids with high optical density.
Item Order Code: 1864-709
|
| |
|
CM-A98 Rectangular Cell 50 x 38, optical path 10 mm
Rectangular cell made of optical glass for precise transmittance measurement of transparent liquids. The optical path is 10 mm and recommended for liquids with normal optical density.
Item Order Code: 1864-710
|
| |
|
CM-A99 Rectangular Cell 50 x 38, optical path 20 mm
Rectangular cell made of optical glass for high precision transmittance measurement of transparent liquids. The optical path is 20 mm and recommended for liquids with low optical density.
Item Order Code: 1864-711
|
| |
|
CM-A130 Rectangular Disposal Cell 50 x 38, optical path 2 mm
Rectangular disposal cell made of PMMA with an optical path of 2 mm. Suitable for transmittance measurements of water based transparent liquids. Recommended for liquids with high density.
Item Order Code: 1870-715
|
| |
|
CM-A131 Rectangular Disposal Cell 50 x 38, optical path 10 mm
Rectangular disposal cell made of PMMA with an optical path of 10 mm. Suitable for transmittance measurements of water based transparent liquids. Recommended for liquids with normal density.
Item Order Code: 1870-716
|
| |
|
CM-A132 Rectangular Disposal Cell 50 x 38, optical path 20 mm
Rectangular disposal cell made of PMMA with an optical path of 20 mm. Suitable for transmittance measurements of water based transparent liquids. Recommended for liquids with low density.
Item Order Code: 1870-717
|
| |
|
CM-A508 Flow Cell 50 x 38, optical path 10 mm
For continuous transmittance measurement of transparent liquids. The optical path of the cell is 10 mm and can be used with a pressure up to 0.8 Bar. The cell fits the Sample Holder CM-A96.
Item Order Code: 9970-237
|
| |
|
Target mask with 6 mm and 3 mm aperture for the measurement of small samples or to measure a limited area of the sample.
Item Order Code: A168-701
|
| |
|
CM-A196 Target Mask 8 mm
Target mask with 11 mm and 8 mm aperture for the measurement of medium size samples or to measure a limited area of the sample.
Item Order Code: A168-702
|
| |
|
CM-A202 Specimen Viewing Mirror
The mirror can be set in the transmission chamber and allows control of the position of the sample for reflectance measurements.
Item Order Code: A168-708
|
 |
|
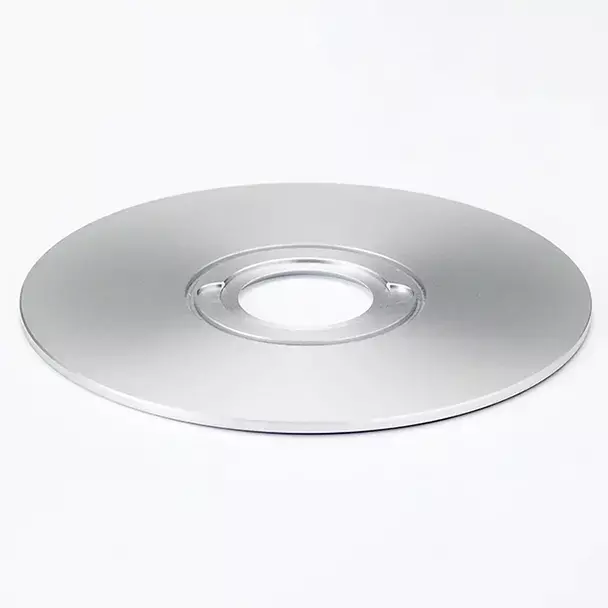
CM-A203 Target Mask for tube cells Ǿ 45 mm
Special Target Mask with a recess for precise positioning of the Tube Cells CM-A128, CM-30 and CM-50.
Item Order Code: A168-709
|
| |
|
CM-A128 Tube Cell Ǿ 45 x 17 mm depth
The tube cell is made of optical glass with a diameter of 45 mm and provides a depth of 15 mm. The cell is suitable for reflectance measurements of opaque paste, powders, grains and granular materials. Fits to Target Mask CM-A203.
Item Order Code: 1870-712
|
| |
|
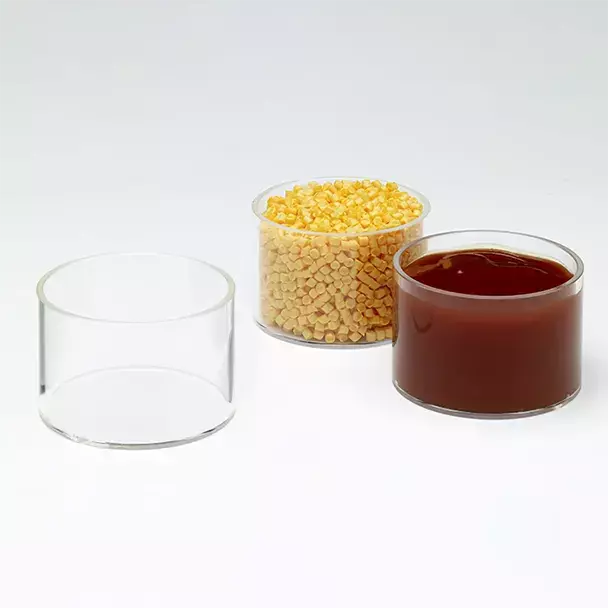
CM-50 Tube Cell Ǿ 45 / 52 mm depth
The tube cell is made of optical glass with a diameter of 45 mm and provides a depth of 50 mm. The cell is suitable for reflectance measurements of opaque and slightly transparent paste, powders, grains and granular materials. Fits to Target Mask CM-A203.
Item Order Code: 1870-900
|
 |
|
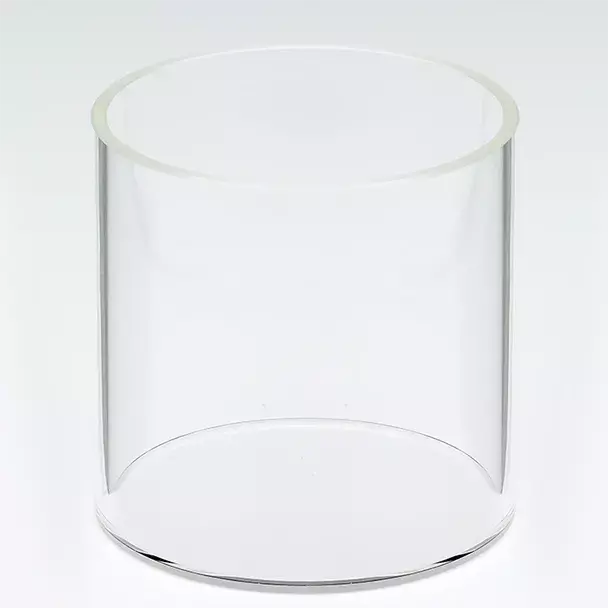
CR-A502 Tube Cell Ǿ 60 / 40 mm depth
The tube cell is made of optical glass with a diameter of 60 mm and provides a depth of 38 mm. The cell is suitable for reflectance measurements of opaque and very low transparent liquids, paste, powders, grains and granular materials. Due to the oversized diameter also suitable for specimens where edge loss effects occurs.
Item Order Code: 9970-220
|
 |
|
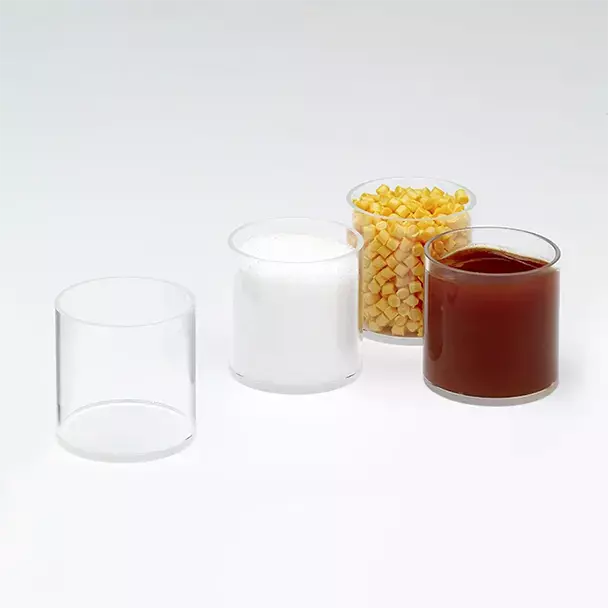
CR-A506 Tube Cell Ǿ 60 / 60 mm depth
The tube cell is made of optical glass with a diameter of 60 mm and provides a depth of 58 mm. The cell is suitable for reflectance measurements of opaque and slightly transparent liquids, paste, powders, grains and granular materials. Due to the oversized diameter also suitable for specimens where edge loss effects occurs.
Item Order Code: B027166
|
 |
|
CR-A504 Tube Cell Ǿ 34 / 35 mm depth
The tube cell is made of optical glass with a diameter of 34 mm and provides a depth of 33 mm. The cell is suitable for reflectance measurements of opaque and slightly transparent liquids, paste, powders, grains and granular materials. Due to the oversized diameter also suitable for specimens where edge loss effects occurs.
Item Order Code: 99702504
|
| |
|
CM-A210 White Calibration Plate
White tile for manual white calibration (instead performing the calibration with the build in white standard of the CM-5). The White Calibration Plate CM-A210 includes a CD with the spectral calibration values and a software to load the calibration data from a PC to the CM-5.
Item Order Code: A168-700
|
| |
|
CM-A212 Calibration Glass Ǿ 45mm
Glass plate made of optical glass with the same optical properties as the bottom window of the Petri-Dish CM-A128. The Calibration Glass is recommended in case of manual tube cell calibration (instead performing the calibration with the build in white standard of the CM-5).
Item Order Code: A168-716
|
 |
|
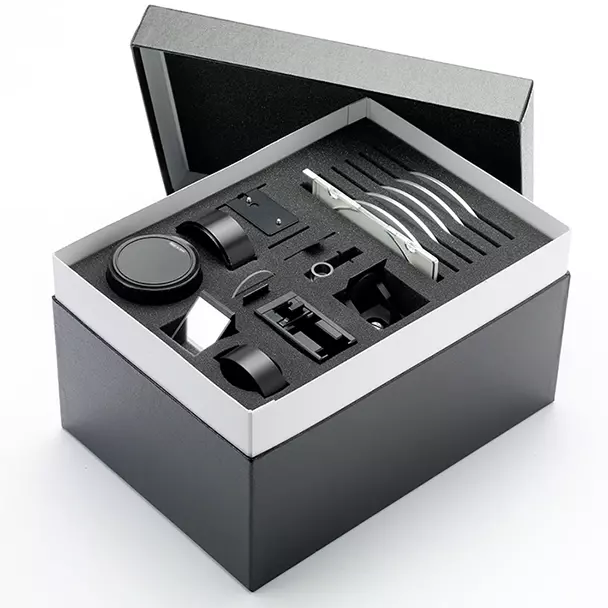
CM-A193 Accessory Case
For storage and protection of CM-5 accessories.
Item Order Code: A168-603
|
 |
|
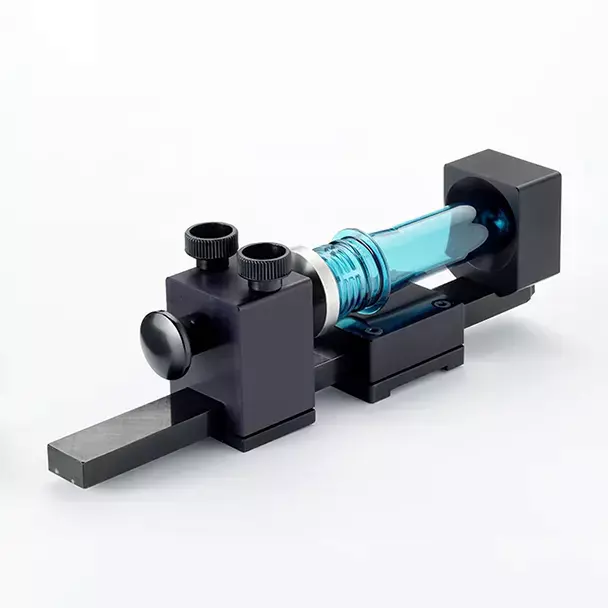
CM-A520 PET Pre-Form Holder
The PET-Pre-Form Holder CM-A520 allows a precise positioning of transparent Pre-forms in the transmission chamber of the instrument. The rail guide of the holder allows horizontal movements of the pre-form to define the area for the measurement.
Item Order Code: B027167
|
 |
|
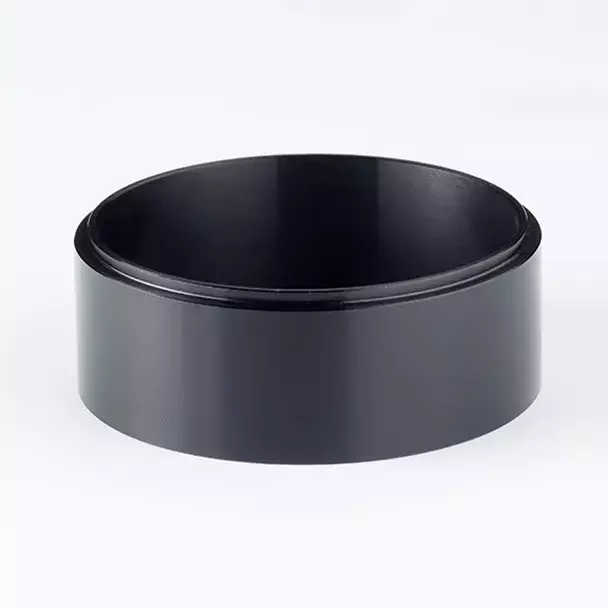
CM-A519 Retaining Ring (for CR-A506 Tube Cell Ǿ 60mm)
For precise and repeatable positioning of tube cells with 60 mm diameter.
Item Order Code: B027165
|
 |
|
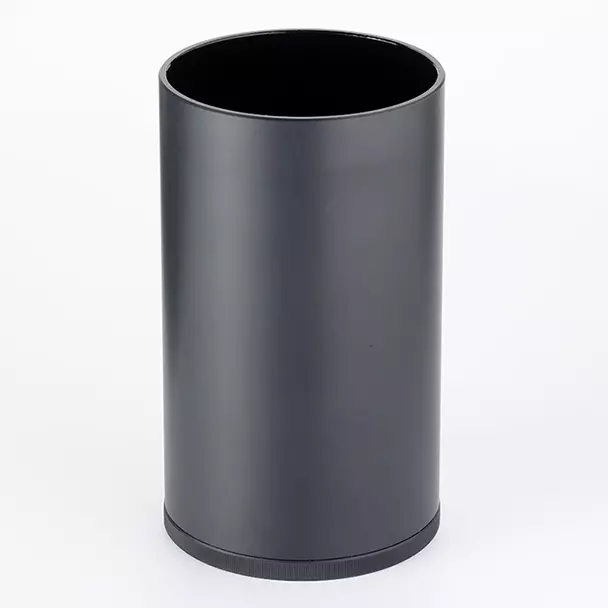
CM-A124 Zero Calibration Box
For precise zero calibration. The box prevents ambient light from entering the sensor during the calibration. Reduces the influence of light reflected by dust particle in air to a minimum.
Item Order Code: 1870-704
|
| |
|
Thermo-Printer DPU-S245-01
Small and compact Thermo-Printer for immediately print out of measurement data.
Item Order Code: B027168
|
| |
|
DPU-S245-01 Serial Connection Set
The set consist of the serial data cable with special plug for the data terminal of the printer body DPU-S245-01 and a 9-Pin Gender Changer to clamp the serial data cable of the printer with the serial data terminal of the instrument.
Item Order Code: B027169
|
| |
|
CM-A58 Printer Cable
Serial Printer Cable with SUB-D9 plugs on both sides for connection between Thermo-Printer DPU-HS245 and instrument.
Item Order Code: 1854-730
|